A little how-to from the studio
How to iron on your embroidered patch
Your little piece of doodle magic has arrived. Turning an everyday jacket, tote, or hat into something unmistakably yours takes about five minutes and a household iron — here’s exactly how.
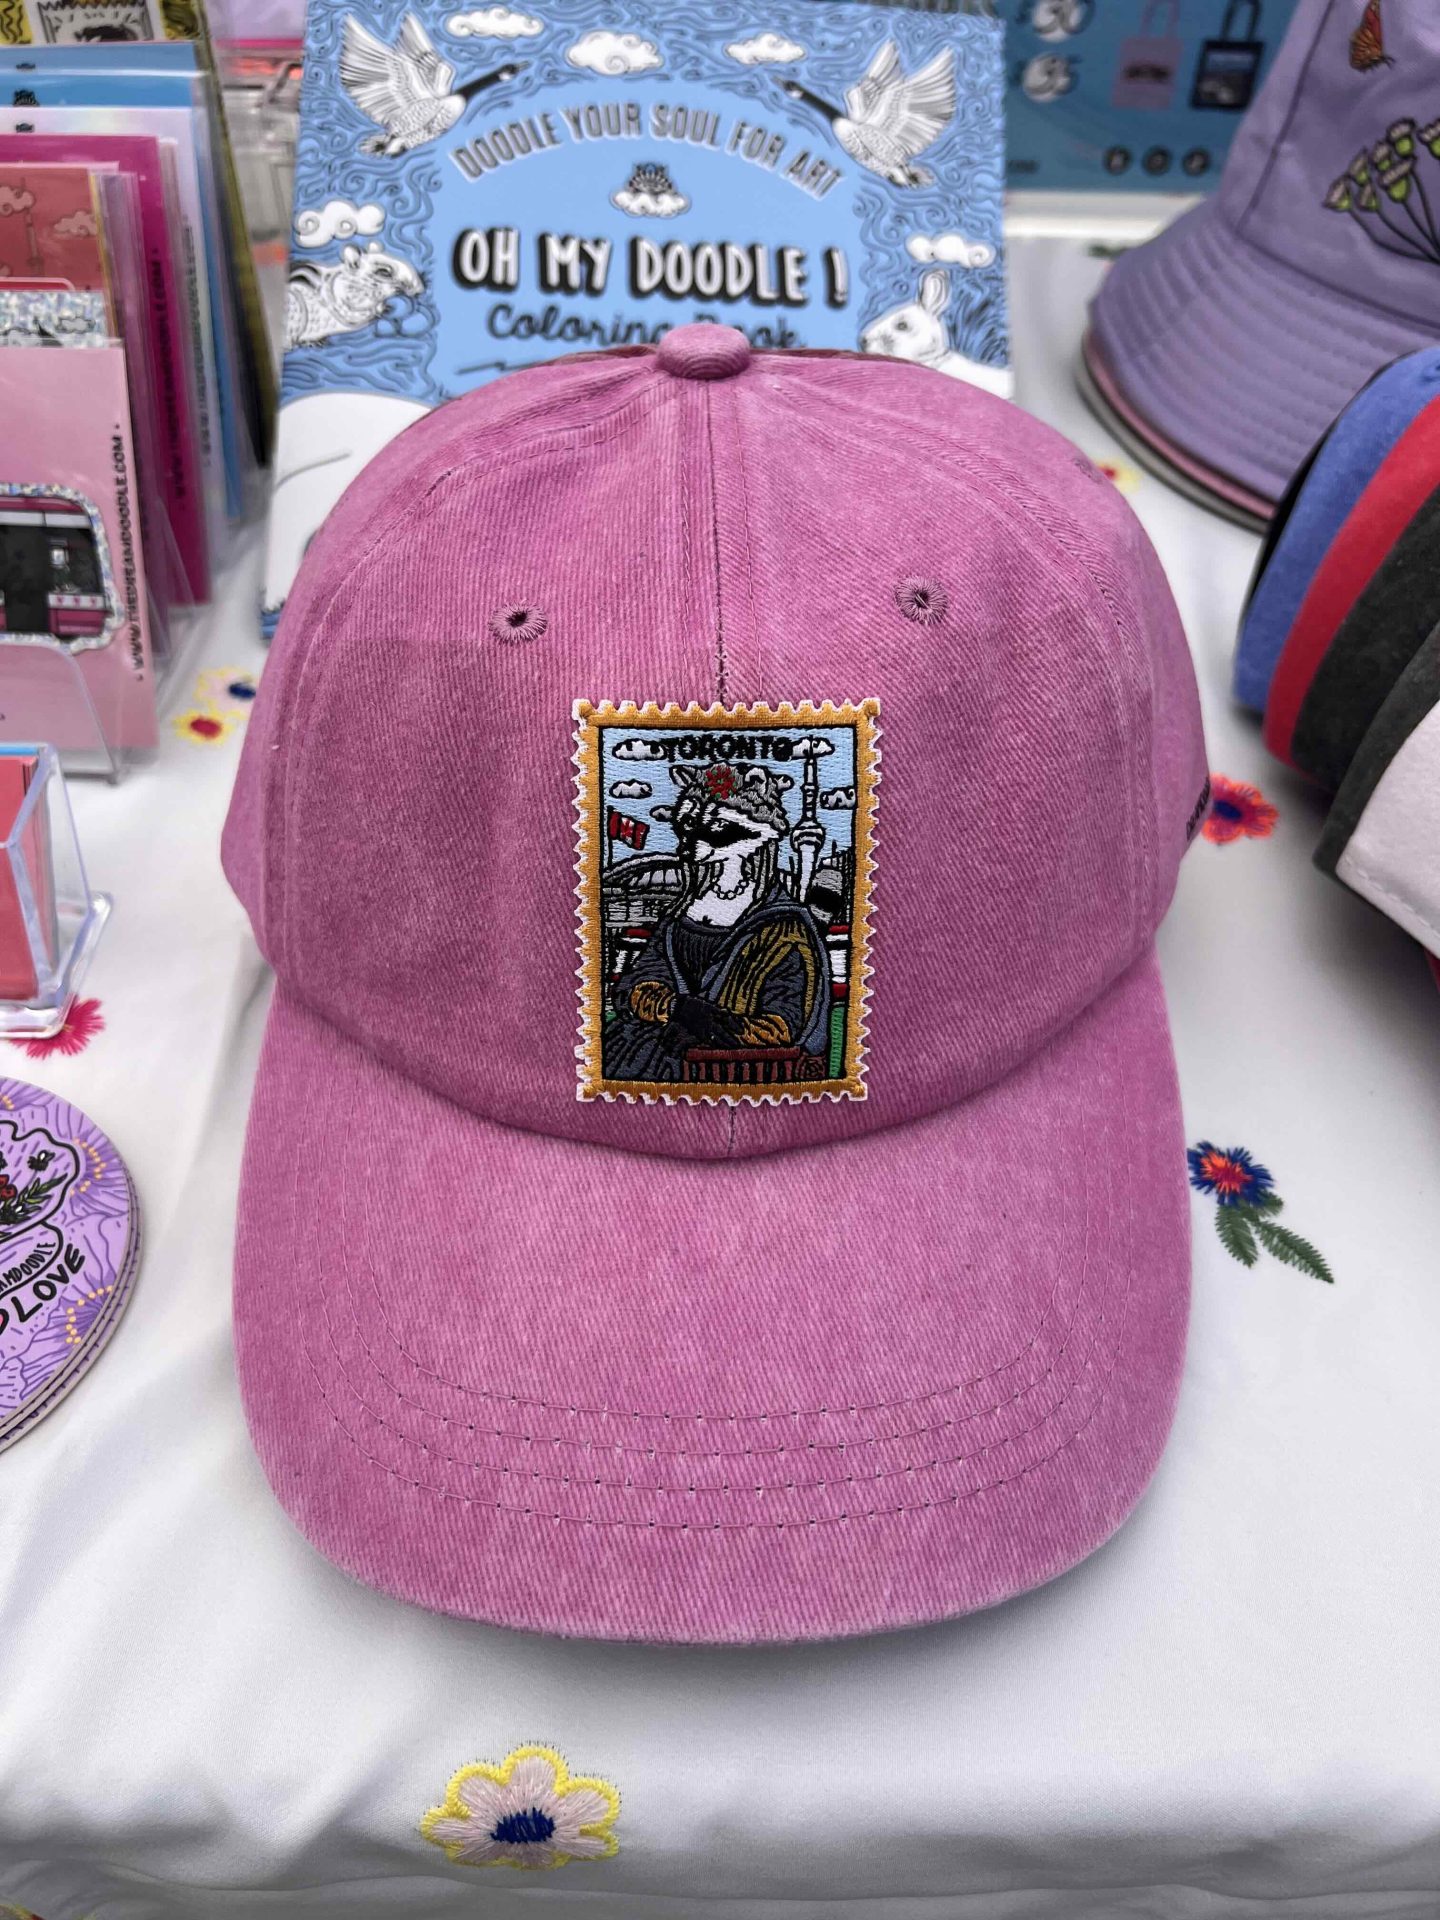
What you’ll need
- Your Dreamdoodle patch
- A household iron
- Parchment paper (baking, not wax)
- An ironing board or hard surface
- The item you’re decorating
Five steps, start to finish
Check your fabric can take the heat
First, make sure the fabric can handle an iron. The easiest way is to peek at the item’s care label — if you see the little iron symbol, you’re good to go. Cotton, denim, and canvas are all happy homes for a patch. Skip very delicate, stretchy, or heat-sensitive fabrics like nylon and leather; for those, a few hand stitches are the safer route.
Set your iron to “cotton” — and skip the steam
Turn the iron up to the cotton setting and make sure steam is switched off completely. Moisture is the enemy of a good bond here — we want dry, steady heat. Give the iron a few minutes to fully warm up before you start.
Position your patch and cover it
Lay your item flat and smooth out any wrinkles. Place the patch exactly where you want it — take your time, this is the fun part — then lay a sheet of parchment paper over top. The parchment protects both your patch and your iron from direct heat.
Press for 15–20 seconds
Press the iron down firmly over the parchment paper and hold for about 15–20 seconds, moving slowly so the heat spreads evenly across the whole patch. Nice, steady pressure is what activates the adhesive on the back.
Let it rest, then peel
Here’s the step everyone’s tempted to rush — please don’t. Let everything cool for at least 2 minutes before you gently lift the parchment paper away. That cooling time is when the adhesive properly sets. Once it’s cool, run a finger around the edges to check it’s secure, and you’re done.
If your patch isn’t sticking
No stress — this is almost always a heat thing. If a corner lifts or the adhesive doesn’t grab, the iron probably wasn’t hot enough. Nudge the heat up, press the patch back down, and try ironing from the inside of the item to re-melt the adhesive. Some fabrics simply hold better than others; heavier natural materials like cotton and denim give the strongest bond.
Putting your patch on something that gets a lot of wear and washing, like a daily backpack or a favourite jean jacket? Add a few small stitches around the edge once it’s ironed on. Iron plus thread means a patch that’s going absolutely nowhere.
Keeping your patch happy
A little care keeps your doodle looking sharp for years:
- Wait 24 hours after ironing before the first wash, so the adhesive fully cures
- Cold water only, on a gentle cycle
- Skip the dryer — let it air dry
- No bleach, and no dry cleaning
- Turn the item inside-out before washing for extra protection
Now — where will yours go?
Half the joy of a patch is deciding where it lives. A few ideas to get you doodling:
Ready for more doodles?
Browse the full collection of patches, stickers, and hand-drawn goodies in the Dreamstore. If ocean creatures are your thing, the Protect Our Giants holographic sticker and the Oh My Doodle Coloring Book are waiting to come home with you too.
Shop the patches Tag @dreamdoodle when you wear yours out — Celia loves seeing where her doodles end up.